
The claims process may require a library of pre-configured e-mails. These e-mails can be sent automatically in response to actions taken by the users, or can be made available within the claim workflow for users to send manually.
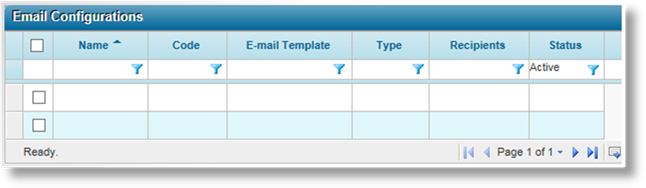
1. In the main menu, select Claims, Configuration, Workflow, then E-mails. A list of all available e-mail configurations is displayed.
|
|
Tip: By default, only Active configurations are displayed. Clear the filter in the Status column to view all configurations. |
2. Click Add. The E-mail Configurations page opens.
3. Complete the necessary information. Fields marked with a red asterisk * are required.
|
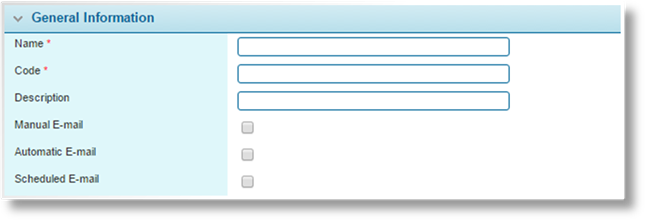
Name |
Enter the name of the configuration. This name is used to select the e-mail configuration in the e-mail screen. |
|
Code |
Enter a code to identify the configuration internally. |
|
Description |
Enter a description for the configuration. |
|
Manual E-mail |
This option is not available when Scheduled E-mail is checked. Users can manually send the e-mail from the claims workflow. The availability is configured below. |
|
Automatic E-mail |
This option is not available when Scheduled E-mail is checked. The system generates and sends the e-mail in response to events configured below. |
|
Scheduled E-mail |
This option is not available when Manual E-mail or Automatic E-mail are checked. The system generates and sends the e-mail at scheduled times. The schedule is defined in the General Settings - Scheduled E-mails section. Note that this feature can be configured, but currently cannot send e-mails. |
|
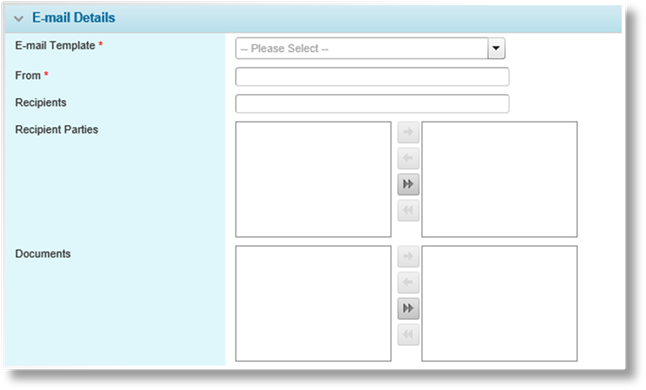
E-mail Template |
Select an e-mail template to define the subject and body of the e-mail. See the E-mail Templates section for details on preparing templates. |
|
From |
Enter the e-mail address that will appear as the sender of the e-mail. |
|
Recipients |
Enter the e-mail addresses for any specific recipients. Multiple addresses should be separated by semicolons. |
|
Recipient Parties |
Select any claims parties who should receive the e-mail. For the selected types, the e-mail will be sent to the primary e-mail address for each company attached to the claim. |
|
Documents |
This option is not available when Scheduled E-mail is checked. Select any documents that should be attached to the e-mail. |
|
|
The documents must already be generated and attached to the claim before sending the e-mail, or it will not be attached. However when a document generation and automatic e-mail are triggered by the same event, the document generation will be completed first so the document will be available for e-mails. If more than one copy of the document exists, the most recent copy will be attached. |
|
|
See the Configuring Claims Documents section for details on preparing document configurations. |
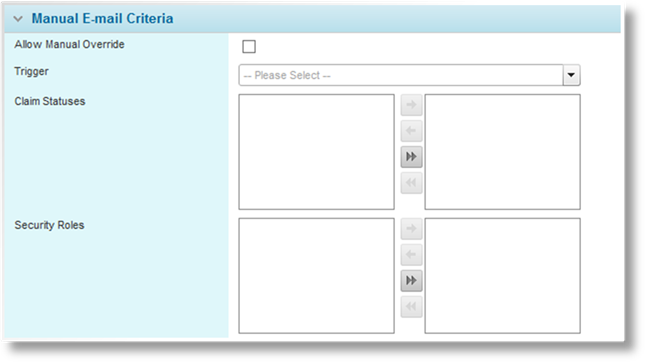
The Manual E-mail Criteria panel is available when Manual E-mail has been checked, and controls when the e-mail will be available for users. All criteria must be met for the e-mail to be available.
|
Allow Manual Override |
When checked, this option allows the user to edit the e-mail before sending. They can change, add, and remove recipient e-mail addresses, and they can edit the subject and body text of the e-mail. If unchecked, the recipients, subject, and body text are displayed, but cannot be edited. |
|
Trigger |
A trigger can be selected to control the availability of the e-mail. The trigger must evaluate as true for the e-mail to be available. If no trigger is selected, this setting is ignored. |
|
Claim Statuses |
Select one or more status and sub-status combinations where the e-mail should be available for users. At least one status must be selected. |
|
Security Roles |
Select one or more user security roles to define which users have access to this e-mail. At least one role must be selected. |
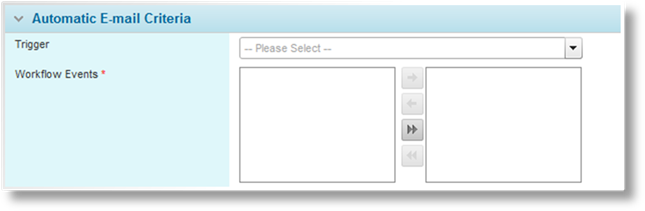
The Automatic E-mail Criteria panel is available when Automatic E-mail has been checked, and controls when the e-mail will be generated by the system. All criteria must be met for the e-mail to be generated.
|
Trigger |
A trigger can be selected to control the generation of the e-mail. The trigger must evaluate as true for the e-mail to be generated on the selected Workflow Event. If no trigger is selected, this setting is ignored. |
|
Workflow Events |
Select one or more configured workflow events where the e-mail should be generated. At least one event must be selected. |
4. Click Save to save the e-mail configuration or click Close to return to the E-mail Configuration List without saving.
The Status panel is added to the page once the configuration has been saved.

|
Active |
Marks the configuration as active and available for use. If unchecked, the configuration will no longer be available for user selection or will not produce automatic e-mails. |
|
Created By |
Identifies the date and time the configuration was created, and the user who created it. |
|
Last Modified By |
Identifies the last date and time the configuration was changed, and the user who made the changes. |
1. In the main menu, select Claims, Configuration, Workflow, then E-mails. A list of all available e-mail configurations is displayed.

|
|
Tip: By default, only Active configurations are displayed. Clear the filter in the Status column to view all configurations. |
2. Click a link in the Name column to view the e-mail configuration details. If there are a large number of available configurations, see the Using Grids section for help on finding the appropriate configuration.
3. See the section on Creating a New Claims E-mail Configuration for a detailed description of the fields. All fields may be edited, if necessary.
4. Click Save to save the configuration but keep the window open, or click Close to close the window without saving the configuration.
An e-mail configuration can be temporarily deactivated. The configuration will no longer be available for user selection or will not produce automatic e-mails.
1. In the main menu, select Claims, Configuration, Workflow, then E-mails. A list of all available e-mail configurations is displayed.
|
|
Tip: By default, only Active configurations are displayed. Clear the filter in the Status column to view all configurations. |
2. Locate the e-mail configurations to be deactivated. If there are a large number of available configurations, see the Using Grids section for help on finding the appropriate configurations.
3. Check the boxes for all configurations to be deactivated.
4. Click Deactivate, then confirm the deactivation when prompted to do so. All selected configurations are deactivated. If the configuration list is still defaulted to only show active configurations, they disappear from the list.
|
|
Tip: Individual e-mail configurations can also be deactivated or reactivated directly through the configuration record. See the section on Viewing and Modifying a Claims E-mail Configuration for details. |
An e-mail configuration can be permanently deleted.
1. In the main menu, select Claims, Configuration, Workflow, then E-mails. A list of all available e-mail configurations is displayed.
|
|
Tip: By default, only Active configurations are displayed. Clear the filter in the Status column to view all configurations. |
2. Click a link in the Name column to view the e-mail configuration details. If there are a large number of available configurations, see the Using Grids section for help on finding the appropriate configuration.
3. Click Delete to delete the configuration.
