Files can be attached to a claim in order to provide additional information or to document details of the loss. Many file types are supported, particularly image and document files.
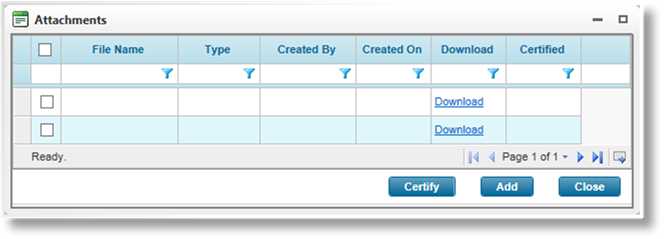
When viewing a claim, select the Attachments option in the Common Screens widget. The Attachments list opens, containing all available files currently attached to the claim.
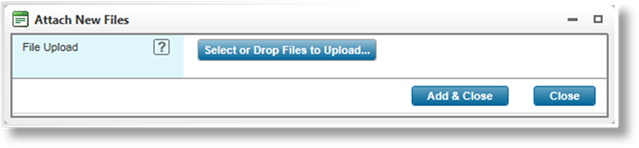
1. Click Add. The Attach New Files window opens.
2. There are two methods for adding files to the list, browsing for files or drag-and-drop.
To browse for a file, click the Select or Drop Files to Upload button. A standard file selection window opens. Locate and select the appropriate file, then click Open.
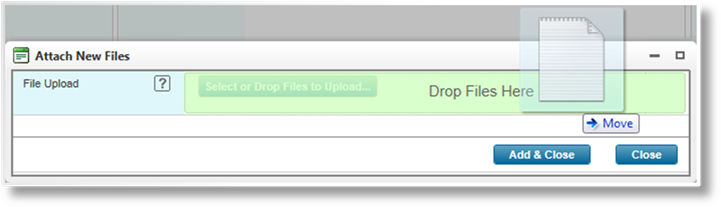
To drag-and-drop files, drag the file into the window near the Select or Drop Files to Upload button. The area will be highlighted in green. The file can be dropped anywhere in the green area.
|
|
Note: Be sure to drop the files into the green area. If a file is dropped outside of the green area, the browser will attempt to open the file instead of adding it to the list. |
3. As new files are added, they are listed in the window. The files have not yet been attached to the claim.
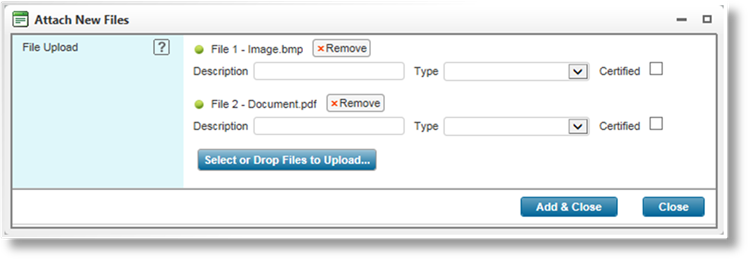
Additional information can be applied to the files as they are attached. This information can also be added or modified after the files are attached.
|
Description |
Enter a description of the file. |
|
Type |
Select an attachment type. |
|
Certified |
This box can be checked to certify the attachment. |
Click Remove to remove a file from the list.
4. Click Add & Close to attach the listed files and close the window, or click Close to close the window without attaching any files.
The Attachments list is updated as files are added. Click Close to close the list and return to the claim.
Once files have been attached to a claim, the settings can be modified and the attached file itself can be viewed.
When viewing a claim, select the Attachments option in the Common Screens widget. The Attachments list opens, containing all available files currently attached to the claim.
To view or download attached files from the Attachments list, click a link in the Download column. A standard file download window opens to allow you to view the file or save it to your computer.
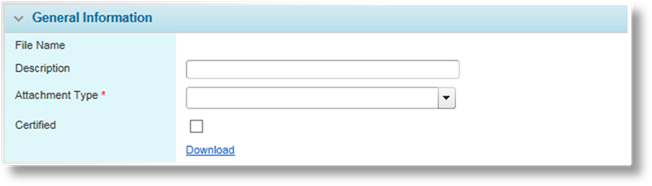
1. To view or edit the attachment settings, click a link in the File Name column. The Attachment window opens. If there are a large number of available attachments, see the Using Grids section for help on finding the appropriate attachment.
|
File Name |
Displays the name of the file. |
|
Description |
Enter a description of the file. |
|
Attachment Type |
Select an attachment type. |
|
Certified |
This box can be checked to certify the attachment. |
Click Download to view or download the attached file. A standard file download window opens to allow you to view the file or save it to your computer.

|
Created By |
Identifies the date and time the rule was created, and the user who created it. |
|
Last Modified By |
Identifies the last date and time the rule was changed, and the user who made the changes. |
2. Click Save & New to save the attachment settings and switch to add attachment mode, click Save & Close to save the attachment settings and close the window, or click Close to close the window without saving changes.
To delete the attachment from the claim, click Delete, then confirm the deletion.
When viewing a claim, select the Attachments option in the Common Screens widget. The Attachments list opens, containing all available files currently attached to the claim.
1. Click a link in the File Name column. The Attachment window opens. If there are a large number of available attachments, see the Using Grids section for help on finding the appropriate attachment.
2. Click Delete, then confirm the deletion. The attached file is deleted from the claim.
While there may be many users who can attach files to a claim, it is common to have certain users with the authority to certify that the attachments are valid. Users with the necessary security roles can mark an attachment as certified, either as they are attaching files, or after files have been attached.
When viewing a claim, select the Attachments option in the Common Screens widget. The Attachments list opens, containing all available files currently attached to the claim.

1. Locate the attachments to be certified. If there are a large number of available attachments, see the Using Grids section for help on finding the appropriate attachments.
2. Check the boxes for all attachments to be certified.
3. Click Certify. All selected attachments are updated, and the Certified status is set to True.
|
|
Tip: Individual attachment can also be certified directly through the Attachment detail window. See the section on Viewing and Editing a Claim Attachment for details. |

