
In some cases, it may be necessary to enter a large amount of data into a table. Manual entry of that data can be inefficient. Depending on the setup of the grid, it may be possible to import and update data by importing spreadsheets.
In order to ensure proper control over the data and structure, a template should be downloaded from the grid, updated, then imported back into the grid.
1. Click Export / Import to open the Policy Grid Export / Import window.
2. The Select Grid field defaults to the grid where the window was opened. All editable grids with import enabled are listed, allowing additional grids to be updated one at a time from the same window.

3. In the Export panel, click the Export button to download a template that includes any editable data already in the grid, or click the Download Template link to download an empty template. In either case, a standard Save / Open dialogue box appears. Select if you want to Open the file, Save the file to your computer, or Cancel the download.
4. Any existing data can be updated and new data can be added. The second sheet in the template includes detailed rules for data and formatting.
Existing data in the exported template will have unique Id values in the BridgeItemId column. When importing new data into a child grid (click Here for details on Child Grids), the BridgeItemId of the related entry in the parent grid must be provided in the BridgeParentId column for each new entry in the child grid.
These Id values can be obtained by exporting the data for the parent grid, or by copying the BridgeParentId Id from an existing entry in the child grid that is known to belong to the appropriate parent.
Please note that the first row of the template is hidden. It contains the Code of each field that defines a column in the grid. These codes can assist with identifying each field in cases where multiple fields have the same label. This row should not be modified since doing so will cause errors when importing the file.
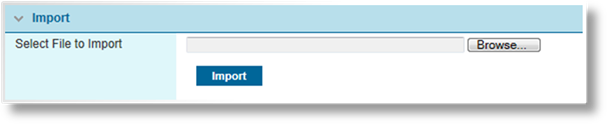
5. Click the Browse button to open a standard file selection window. Select the file to be attached and click Open. The full path and filename is displayed in the field.
6. Click Import to upload the spreadsheet. Any changes to existing data will be updated, and new data will be added to the table.
The table at the bottom of the window displays a history of imports for the currently selected grid.

|
Imported File |
Displays the filename for each imported file. Clicking the name opens the file for review. |
|
Grid Name |
Displays the name of the grid that received the import. |
|
Error Report |
If certain errors occurred during import, such as an invalid file, missing data in a required field, or invalid data, clicking the link in this column opens a copy of the imported file with errors highlighted. |
|
Imported On |
Displays the date that the file was imported. |
Click Close to close the window.