The default portal is automatically created when a new licensee site is set up, and additional portals can be created. The default portal and all custom portals can be modified after they have been created.
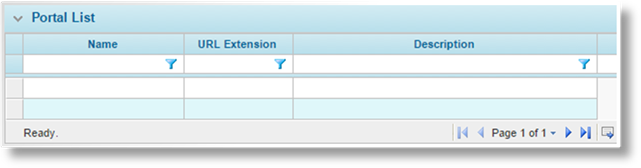
1. In the Main Menu, select Reference, then select Portals. The Portals page opens with a list of all available portals.
2. Click a link in the Name column to open a portal. The Portal - General Information page opens.
3. See the section on Creating a New Portal for a description of the fields in the General Information page. All information can be edited except for the URL and Domain fields.
4. Click Save to save any changes but remain on the page, click Save & Close to save any changes and return to the portal list, or click Close to return to the portal list without saving any changes.
5. Additional configuration options can be applied to the portal before publishing. The other features are available under the Screens widget, and are described in detail in the following sections.
6. Once all changes have been made to the portal and saved, click Publish to apply all changes to the live website. Any changes that have not been saved are not published.