In the event that you want to direct your users to other
websites, links can be added to individual portals, and appear in the main menu
at the top of the page.
The links are included in the main menu as the last items
before the username menu, and can be set to show individually or in a
sub-menu. Clicking one of these links opens a new browser window with the
selected URL.
|

|
Note: Given the limited horizontal space
(which varies according to the features available to each user), It is
recommended to group links wherever possible, and shortening the names of
groups and links that appear in the top level menu. |
|
Ideally, most users should have up to seven menu
options total, although high-level administrative users are most likely to
exceed that number. This is not a strict limitation, as the menu bar
wraps around to create a second line of menu options if it exceeds the
width of the browser window. |
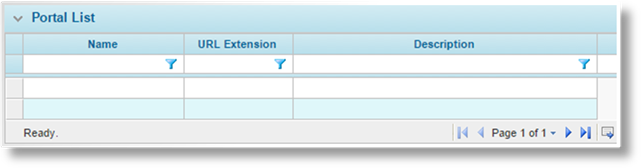
1.
In the Main Menu, select Reference, then select Portals. The
Portals page opens with a list of all available portals.
2.
Click a link in the Name column to view a portal. The
Portal - General Information page opens, and additional options are
available in the Screens widget to the left of the page.
3.
Select Custom Menu Items in the Screens widget. The
Portal - Custom Menu Items page opens.

|
Group External Links in a main menu
item |
Check this box to display all external links in a
sub-menu that expands when the Menu Label (see below) is
clicked. If this box is not checked, all links are displayed
directly in the main menu. |
|
Menu label for External Links |
If the links are grouped under a sub-menu, enter the
name of the sub-menu here, as it should appear in the main menu. If
left blank, the menu item defaults to External
Links. |
4.
Click Save to save the settings.
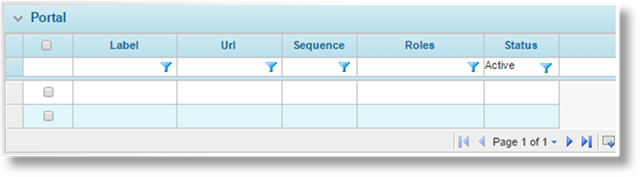
5.
Select External Links in the Screens widget. The
External Links page opens with a list of all links attached to the
current portal.
|

|
Tip: By default, only Active links
are displayed. Clear the filter in the Status column to view
all links. |
6.
Click a link in the Name column to view an existing link, or click
Create to add a new link. The External Links
page opens.
Checking the box next to a link and
clicking Deactivate makes the link inactive, and it does not appear
in the menu unless the filter is cleared from the Status column.
7.
Select the settings for the link in the Portal - External Links page.
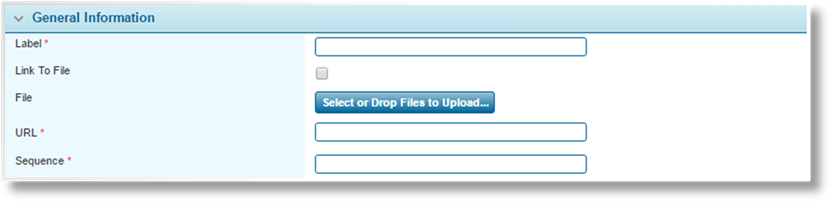
|
Label |
Enter the name of the link as it should appear in the
menu. |
|
Link To File |
When this box is checked, clicking on the link will
download a file instead of opening a website. This is useful for
providing users with a convenient way to access files. |
|
File |
This field becomes available when Link To File
is checked. Use it to upload a file that will be downloaded when the
link is clicked. Only one file can be uploaded per link.
|
|
|
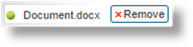
To upload the file, use the Select or Drop File to
Upload button to select a file to upload. On selecting the file,
its name will replace the Select or Drop File to Upload button and
a Remove button will appear.
If creating a new link, click Add or
Add & Close to save the file. If updating an
existing link, click Save or Save &
Close to save the file. |
|
|
Once the link has been saved, the URL field
appears with a read-only path to the uploaded file. The File
field will be hidden and a Delete button appears below the
URL. |
|
|
To delete the file and upload a new one, click on the
Delete button. The Select or Drop File to Upload
button will appear. Use it to select the replacement file and then
click Save or Save & Close. |
|
|
To delete the file and change the link to open a
website, click on the Delete button, uncheck Link to File,
and then click Save or Save & Close. Note that the
URL field will have to be updated. |
|
URL |
This field is available when Link to File is
unchecked. It will also appear as read-only when Link to File
is checked and a file is saved for the link. |
|
|
When the link is used to open a website, use this field
to enter the website’s full URL. This should include the protocol
("http://" or "https://", for example). If you are
unsure of the full address of the site, you can visit the site directly
and copy the URL from the Address bar in the browser. |
|
Sequence |
Enter a Sequence number. This determines
the link's position in the menu, with lower numbers appearing
first. |
|
|
Tips: |
|
It is advisable to leave gaps between the sequence
numbers, such as 5, 10, 15. This allows new items to be added to the
list at a later date, inserted between existing items. Otherwise,
the sequence numbers of existing items must be changed to allow for the
new addition. |
|
If multiple items are given the same sequence number,
they are grouped together and sorted
alphabetically. |

|
Security Role |
Access to the link can be restricted according to
security roles. Select all roles that should have access to the
link, and only users who have at least one of the selected roles are able
to see and use the link. Select all roles to make the link available
to all users. |

The Status panel is
displayed once a link has been saved, or when viewing an existing link.
|
Active |
This checkbox controls if the link is displayed and
available for use by users with the appropriate security roles. If
unchecked, the link is not available to any users, and is not shown in the
External Link List unless the filter is cleared in the
Status column. |
|
Created By |
Identifies the date and time the link was created, and
the user who created it. |
|
Last Modified By |
Identifies the last date and time the link was changed,
and the user who made the changes. |
8.
Click Save to save the link but remain on the page, click Save
& Close to save the link and return to the links list table, or
click Close to return to the links list table without saving the
link.
|
|
Note: When creating a new link, the
buttons are displayed as Add, Add & Close, and
Close. However, they function exactly the same as the
Save buttons. |
9.
Once all settings and links are ready, the saved changes are applied when the
portal is published from the General Information page of the
portal.