The Licensee Headquarters company is automatically created when the Bridge environment is set up. Additional offices and subsidiaries can be created, with subsidiaries of their own, to represent the hierarchical structure of your organization.
Once created, the company record displays lists of associated master covers and any users under the company.
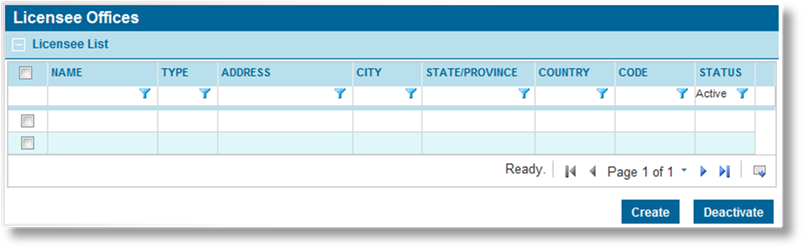
1. In the main menu, select Reference, then select Companies & Users, then Licensee Offices. A list of all available licensee companies is displayed.
|
|
Tip: By default, only Active companies are displayed. Clear the filter in the Status column to view all companies. |
2. Click Create. The Licensee Information page opens.
3. Complete the necessary information. Fields marked with a red asterisk * are required.
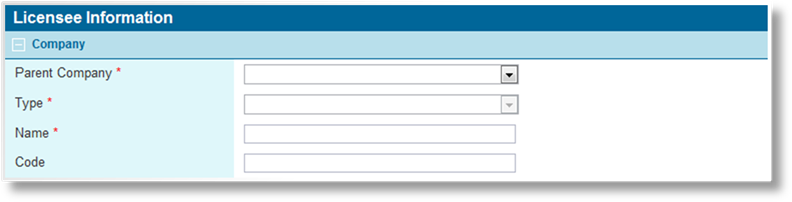
Enter the company details.
|
Parent Company |
Select the parent company. The new company is a direct subsidiary of the selected company. |
|
Type |
Select any option. This will revert to Licensee on saving the company. An additional panel for Insurer Parameters or Distributor Parameters will appear at the bottom of the page, but this can be ignored. |
|
Name |
Enter the company name. |
|
Code |
Enter a unique identifier code for the company. This is used for integration purposes. |
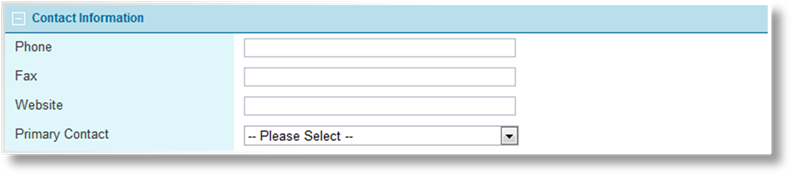
Enter the contact information for the company.
|
Phone |
Enter the phone number. |
|
Fax |
Enter the Fax number. |
|
Website |
Enter the URL of the company's website. |
|
Primary Contact |
Any of the current users under the licensee company can be selected as the Primary Contact. When an e-mail is sent to this licensee, it goes to the primary contact. If no primary contact is selected, the e-mails go to the first user created under the company. This field is only visible once the licensee has been saved. |
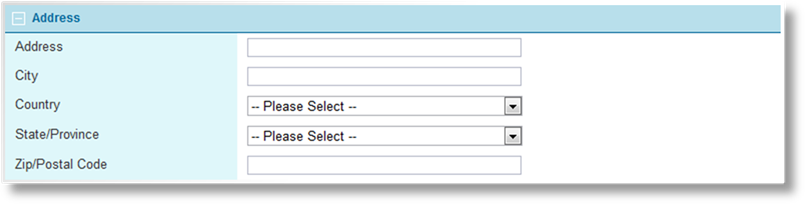
Enter the full address of the new company.
4. Click Add to save the company information and remain on the page, click Add & Close to save and return to the company list, or click Close to return to the company list without saving the company.
1. In the main menu, select Reference, then select Companies & Users, then Licensee Offices. A list of all available companies is displayed.

|
|
Tip: By default, only Active companies are displayed. Clear the filter in the Status column to view all companies. |
2. Click a link in the Name column to view the company information. If there are a large number of available companies, see the Using Grids section for help on finding the appropriate company.
3. See the section on Creating a New Licensee Office for a detailed description of the fields. All fields may be edited, if necessary. The following panels have been added to the page.
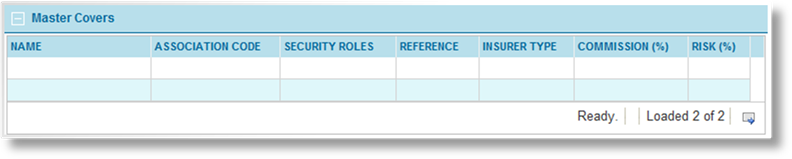
The Master Covers list displays all available master covers attached to the licensee office.
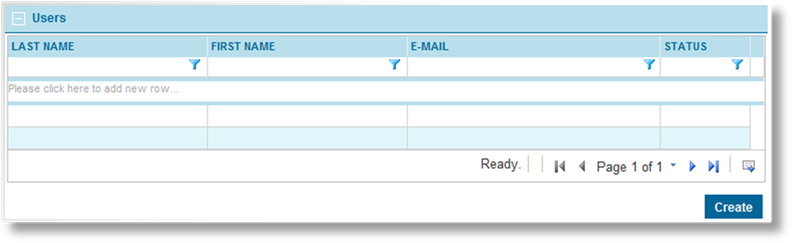
The Users list displays all available users registered for this company. Click Create to create a new user account for this company.
|
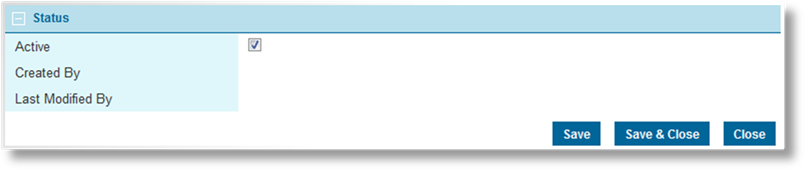
Active |
Marks the company as active and available for use. If unchecked, the company remains linked to any existing records, but cannot be used for new accounts or transactions. |
|
Created By |
Identifies the date and time the company was created, and the user who created it. |
|
Last Modified By |
Identifies the last date and time the company was changed, and the user who made the changes. |
4. Click Save to save any changes and remain on the page, click Save & Close to save and return to the company list, or click Close to return to the company list without saving any changes.
Once created, a licensee office cannot be deleted. It can be deactivated, which leaves it linked to any existing records already attached to it, but prevents it from being used for new accounts or transactions.
1. In the main menu, select Reference, then select Companies & Users, then Licensee Offices. A list of all available companies is displayed.
|
|
Tip: By default, only Active companies are displayed. Clear the filter in the Status column to view all companies. |
2. Locate the company or companies to be deactivated. If there are a large number of available companies, see the Using Grids section for help on finding the appropriate companies.
3. Check the boxes for all companies to be deactivated.
4. Click Deactivate, then confirm the deactivation when prompted to do so. All selected companies are deactivated. If the company list is still defaulted to only show active companies, they disappear from the list.
|
|
Tip: Individual companies can also be deactivated or reactivated directly through the company record. See the section on Viewing and Modifying a Licensee Office for details. |
